Sorry I’ve been a little neglectful food chums, I’ve been on holiday… Okay so I haven’t been on holiday but I’ve been extremely busy sunning myself in pub beer gardens with my boyfriend. Yes I now have a boyfriend, and yes he is real, and yes he is called Jamie, and yes he plays the harmonica. Now enough with your incessant questions!
Anyway, now the weather’s decided to be a bum-hole, I thought I’d cheer us all up with something lovely and chocolatey – like these chocolate bites Jamie made me a few weeks ago. I loved them so much, I decided to try and pass them off as my own at my friend Rosie’s baby shower. Good job I did, as without them I would have turned up completely empty handed. I know this sounds stupid but I didn’t know you were supposed to bring gifts to a baby shower. I’ve seen enough American TV to know better but thankfully I was able to hide behind the chocolate until I could redeem myself with a trip to Kath Kidson the following week. Phew!
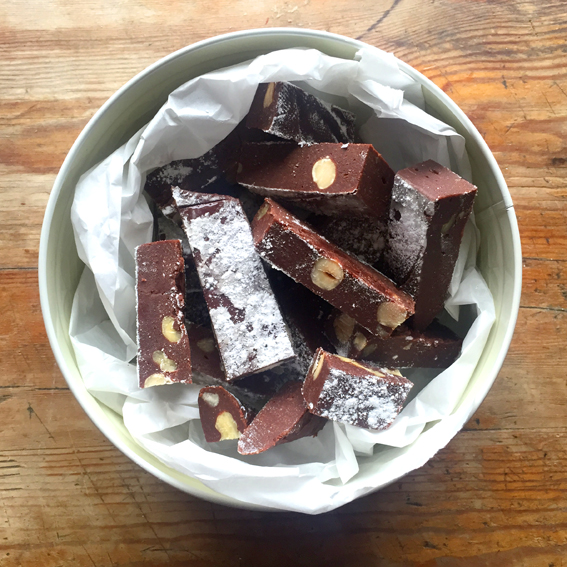
Jamie’s chocolate nutty bites
Makes 1 slab / Hands on time 20 mins/ Total time 20 mins + 2 hours to chill / V Gf
You’ll need: Electric Hand whisk, 18-20cm round flan or cake tin
300g Green & Black’s Organic 70% Dark Chocolate
3 egg whites
3 tbs runny honey
200g ground almonds
50g hazelnuts
100g walnuts
200g icing sugar
Method
1. Line a flan or cake tin with cling film. Melt the dark chocolate in a large heatproof bowl over a pan of simmering water.
2. In medium bowl, separate the whites and discard the yolks and whisk with an electric whisk for 2 mins – you just want to break them up rather than whisk them to a peak. Add the honey and whisk once more to incorporate.
3. Fold in the ground almonds with a large metal spoon and mix to a paste. Fold in the nuts, stir in the icing sugar before very gently folding in the melted chocolate.
4. Pour the mixture into the tin, fold the cling film over the mixture and press everything down until smooth. Refrigerate for a minimum of 2 hrs.
5. Remove the clingfilm and slice into bite sized chunks. Sprinkle with icing sugar and serve with a cup of tea.
If you’ve had a go at making any of my recipes, I’d love to hear from you. Follow me now @corrieheale and tag your recipe pictures using #corriesrabbitfood.


V– Vegetarian Gf– Green & Black’s Organic 70% dark chocolate is gluten free but some other brands may not be. Always check the label.